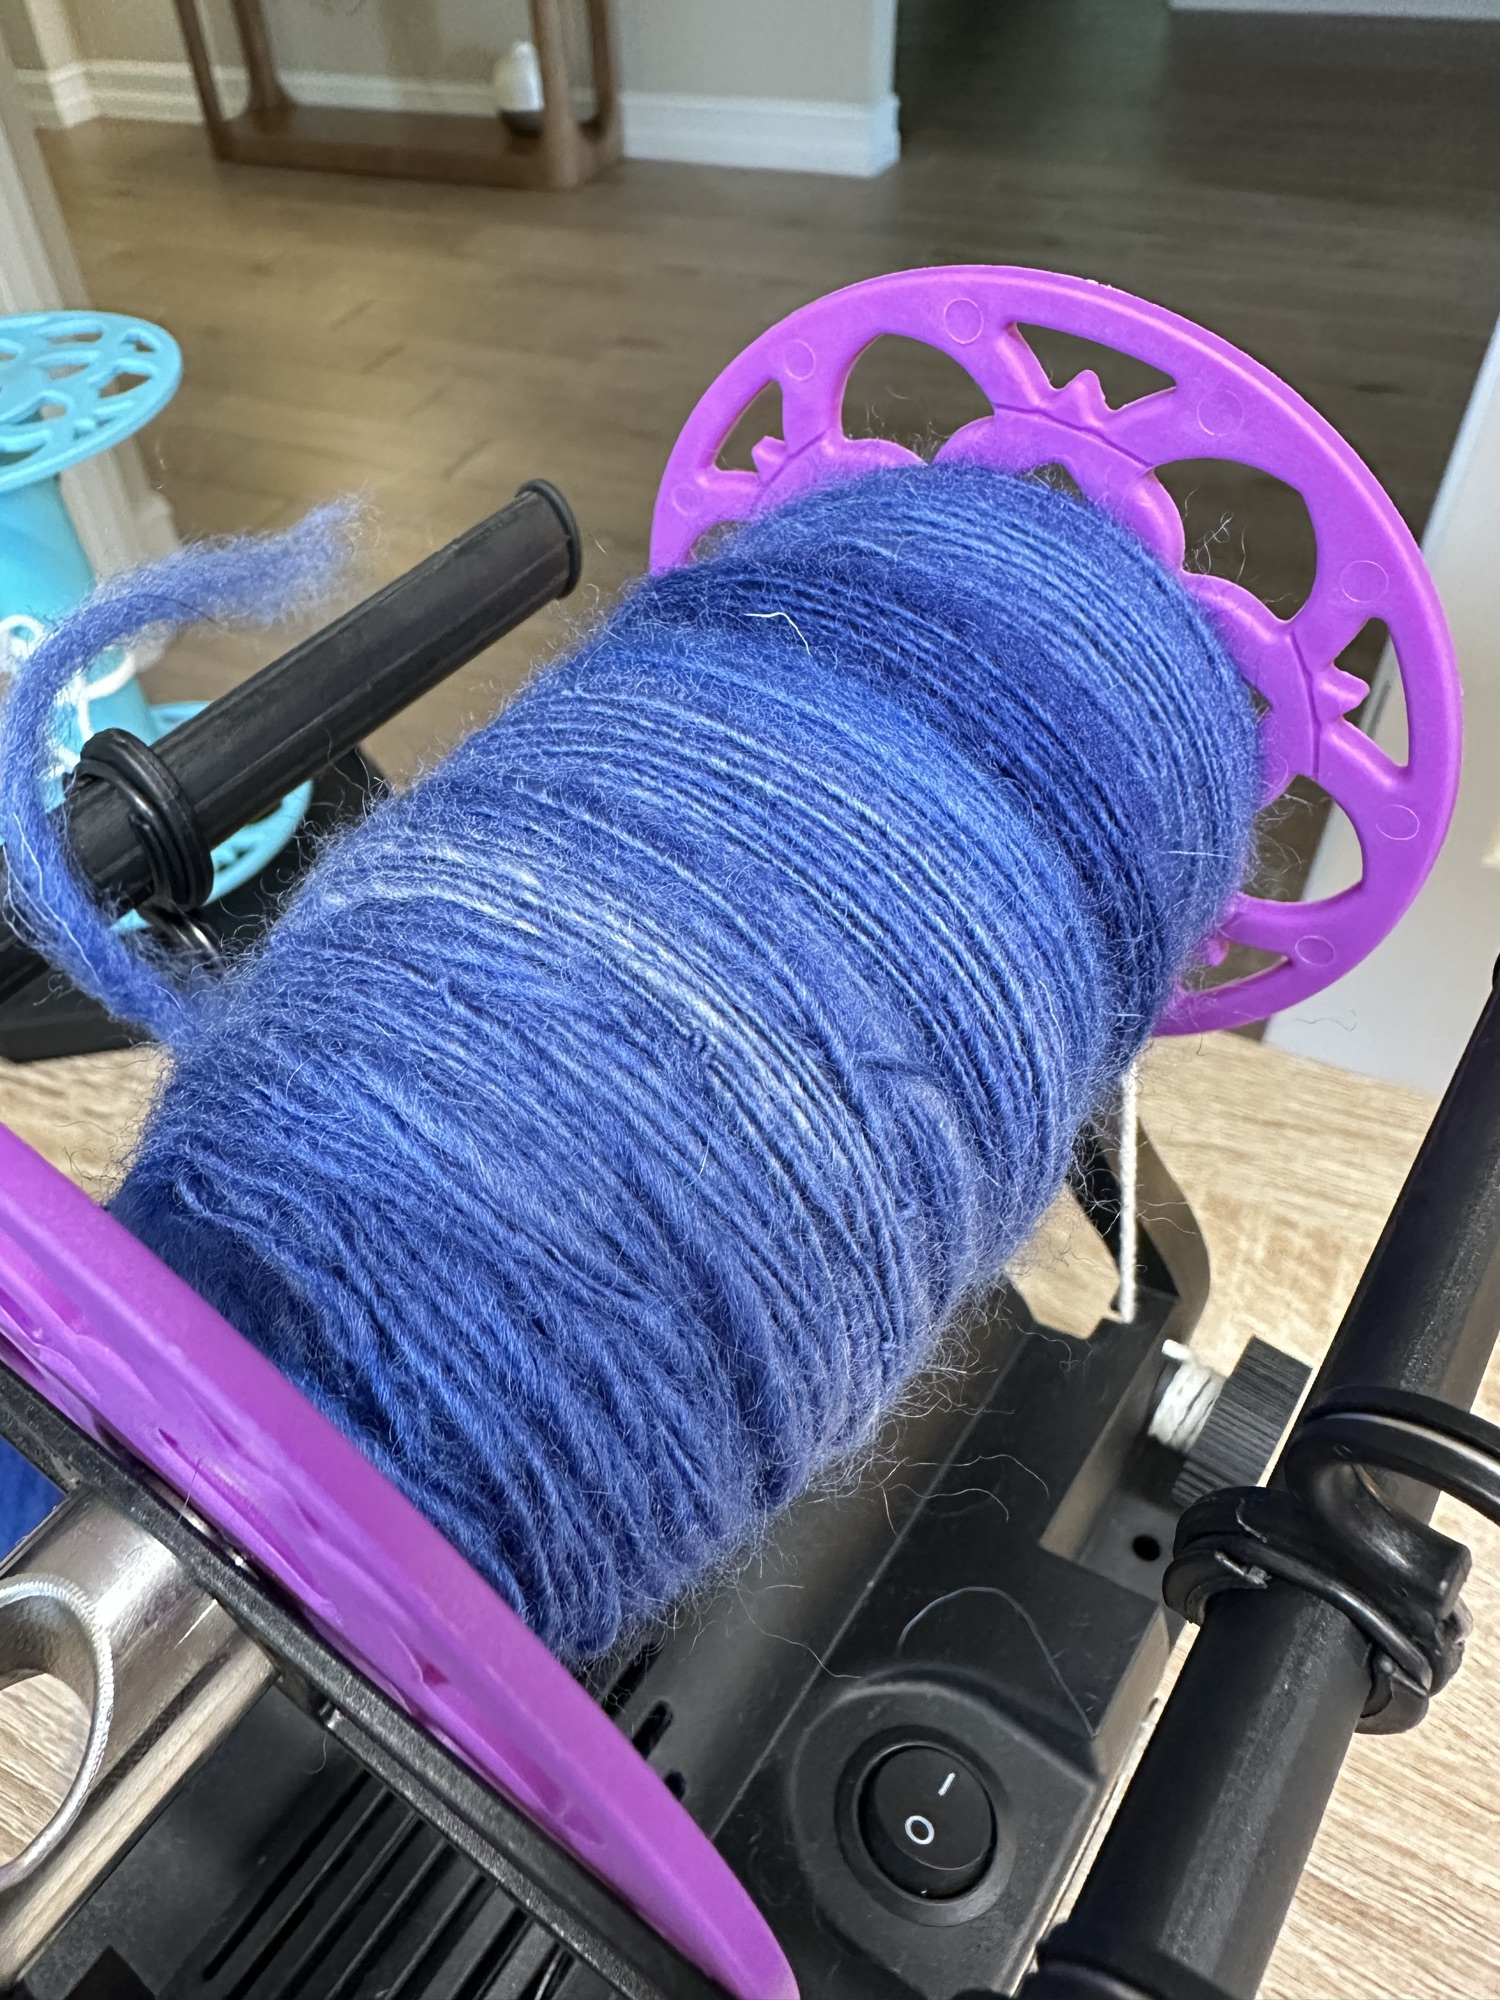
I am one spinning project into using the Dreaming Robots Electric Eel Wheel 6.1. The drop spindle experiment gave me confidence in upgrading my chosen spinning tools, but a learning curve still lurked around the corner for this complete spinning newbie.
*This post contains affiliate links, where I earn a small commission.*
What I Ordered and Unboxing
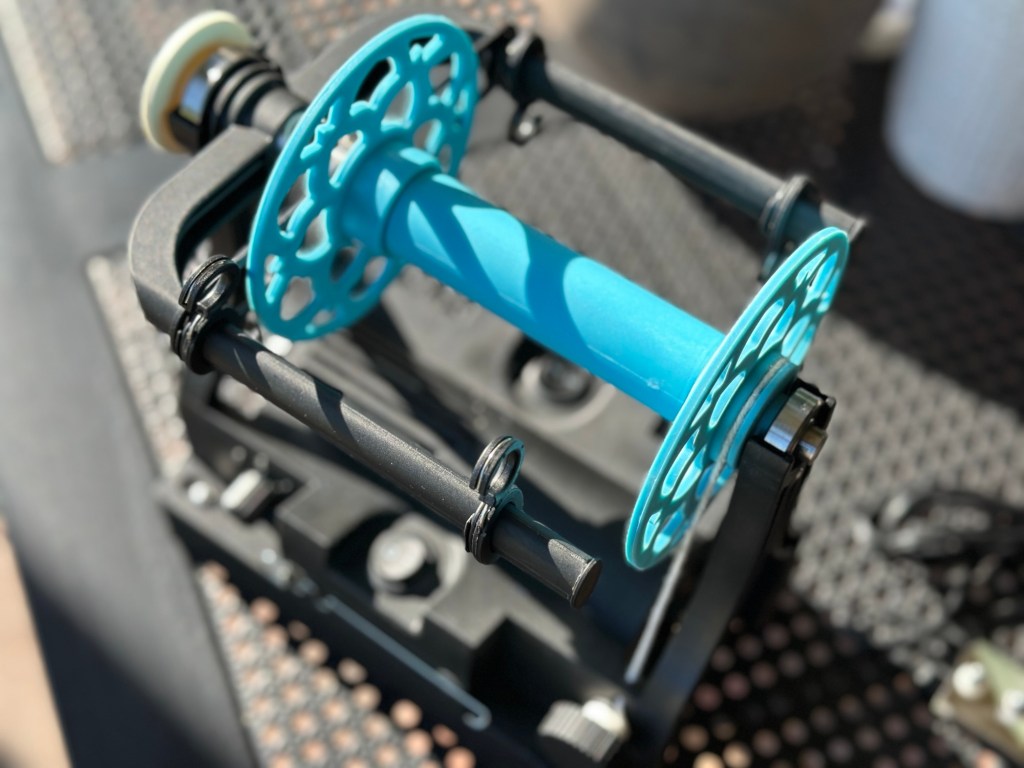
I chose my shopping cart based on some basic research and the small amount of the useful spinning tools I already owned from learning the drop spindle process (niddy noddy, ball winder, swift, etc.) I, obviously, needed the actual eSpinner. Dreaming Robots has 3 varieties, which are neatly compared here. My long-term goal with spinning is to produce enough for a sweater, so I chose the “production” spinner. The size/portability of the other models wasn’t a concern, as I will mainly spin at home. (Although, I must admit that I have seen some folks in the EEW Facebook community that have more than one eSpinner, and I can understand why.)
🛒My Shopping Cart
- EEW 6.1 – Included 6 bobbins
- EEW Lazy Kate
The Lazy Kate felt like a necessity after my messy plying attempts with the drop spindle, so I tossed that into the cart as well. I was excited to learn of the 3D printed nature of these components in case I need more bobbins or replacement parts one day.
When the package arrived, the box was nicely packaged, with everything perfectly secured. There is a small instruction booklet to get started, but the website also has a library of resources to guide the novice spinner, like me!
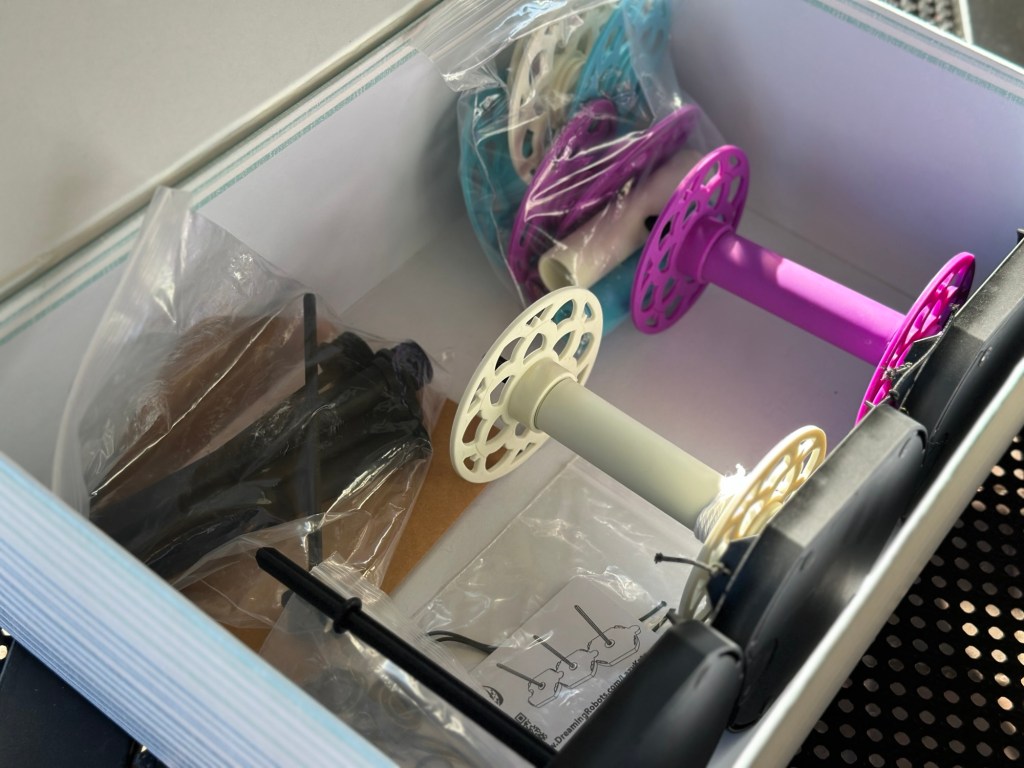
It took me less than 30 minutes to understand the instructions and assemble the pieces, including screwing together 3 of the bobbins. (It is a great benefit that you can unscrew and store the extras flat! I’m storing my Lazy Kate and extra bobbins in a nice gift box that was given to me, like this.) I got a little confused with the tension string, but the videos got me through it.
A Practice Round: Scrap Wool Roving
I was ready to spin, but I figured I should get started with some scrap fiber to get a feel for the mechanics of the machine in front of me. I am glad I did! At first, I couldn’t get the newly spun singles to feed onto the bobbin. Then, it was too tight and pulling the fiber before it built up the right twist.
I wish I could proclaim complete resilience in this moment, but I stepped away…with self-doubt over my ability to really learn this new skill building in my mind. But, I did ultimately persevere, thanks to a good night of rest and a re-watch of the tutorial. When I found the sweet spot of speed and tension, I was astonished to see the yarn suddenly forming!
The Real Deal: 4 Oz of BFL (Living Dreams, Royal Blue)
There was a moment. A true aha! moment, where I was suddenly drafting in sync to the rhythm of the EEW. The fibers were easily sliding from the wool source. My shoulders were at ease, and the single ply was growing on the bobbin. For a while, I didn’t realize that I was responsible for adjusting the hooks on the flyer to control where the yarn wound onto the bobbin, so an uneven mountain formed during my first flow state. But, after I realized that I had to gently nudge the hook every few minutes (probably depends on speed), I was off to the races for my first single ply!


My plan was to create a two-ply yarn (mainly to hide thick/thin issues with each single ply on its own). Each bobbin has a marking to tell you when you’ve reached the halfway point, making it easy to switch to a second bobbin for the remainder of the singles spin, and then, ply them into a finished, two-ply yarn.
I loaded the two bobbins of singles onto the Lazy Kate to start plying. This part made me feel like a spinning pro! I made sure to swap the direction of my twist, so that it was the opposite of what was used to spin the singles. As the two came together, the Lazy Kate smoothly rotated along. What a win, especially compared to my circulation-restricting attempt at Andean Plying!
Final Review & the Yarn Reveal
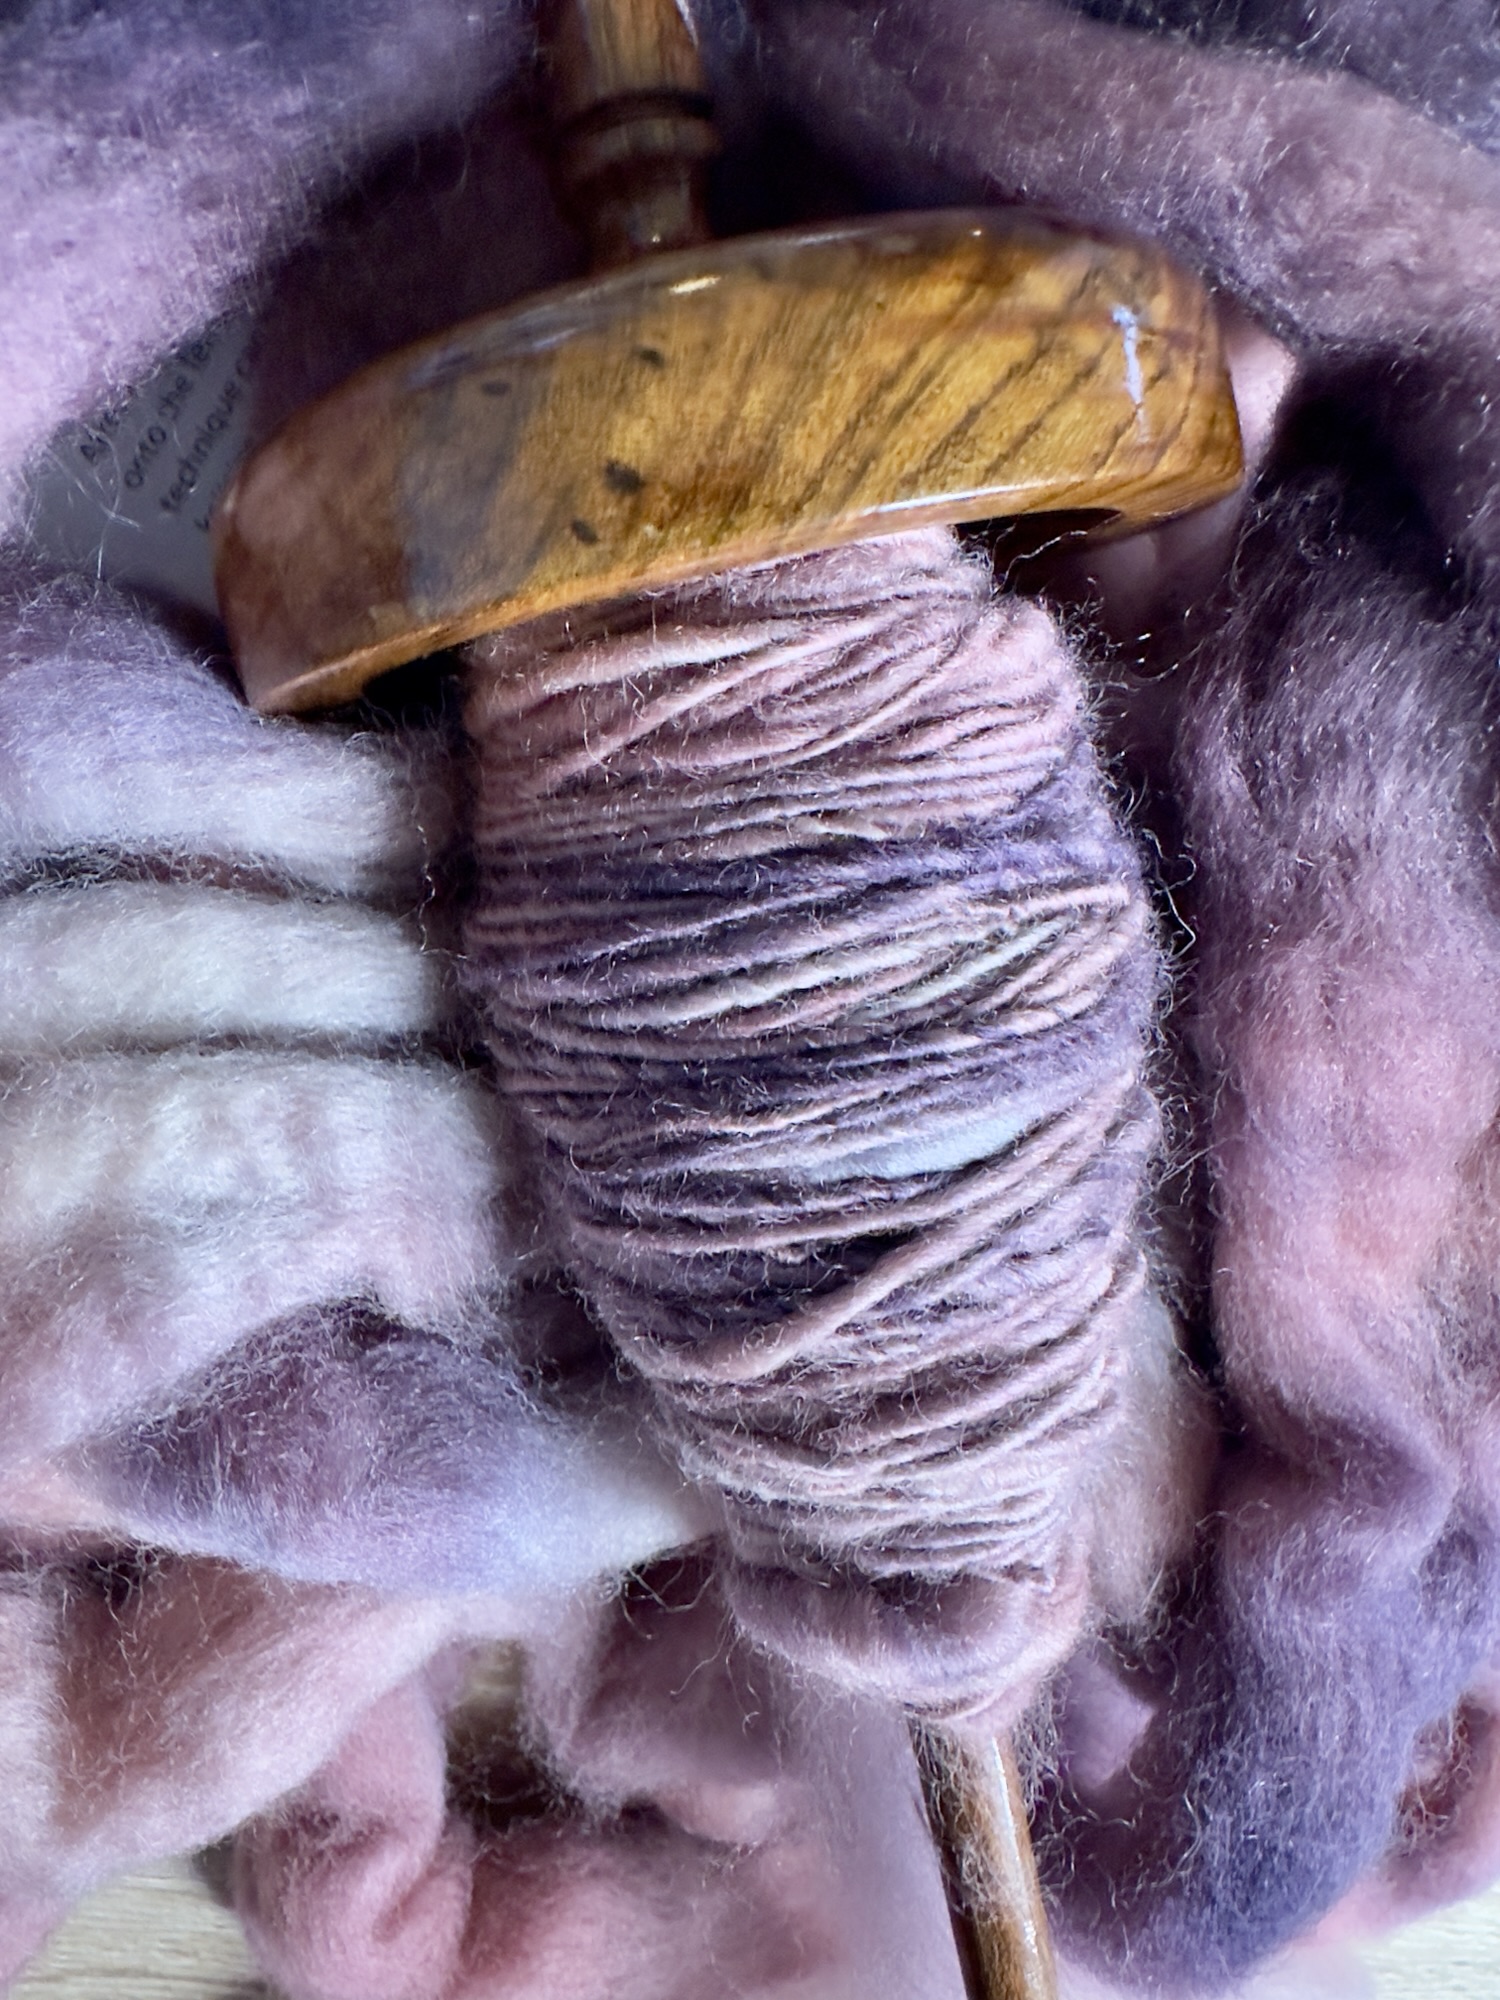
So far, I’m loving the EEW 6.1. Since I also used 4 oz. of BFL (in the woodrose color) with the drop spindle, I can easily see how much further an ounce of wool goes with the tighter twist I achieved from the eSpinner. I can also feel a difference in the softness that was maintained post-spin. The eSpinner, which maintained a consistent speed the entire time, has a twist that is much more consistently distributed. My drop spindle yarn has a variety of densities and thicknesses, a result of both under- and over-twisted segments. And of course, the 4 ounces of source fiber took significantly less time to spin and ply with the eSpinner. It was also much less physically demanding.


I was enthusiastic about spinning from the first drop of my drop spindle, but with an eSpinner, I feel like spinning is a much more realistic supplement to my knitting practice. I hope to produce yarn for a few knitting projects each year, and I believe the EEW just made that possible. Five stars from this newbie spinner! ⭐⭐⭐⭐⭐
*I requested an affiliate link after I had tried and enjoyed the EEW. This is an honest review, based on my experience as a customer with an order I received in September 2026.





Leave a Reply